SGS’s LUTs – Enhanced Color Grading and Black Levels
Overview
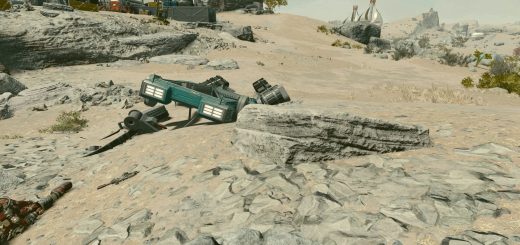
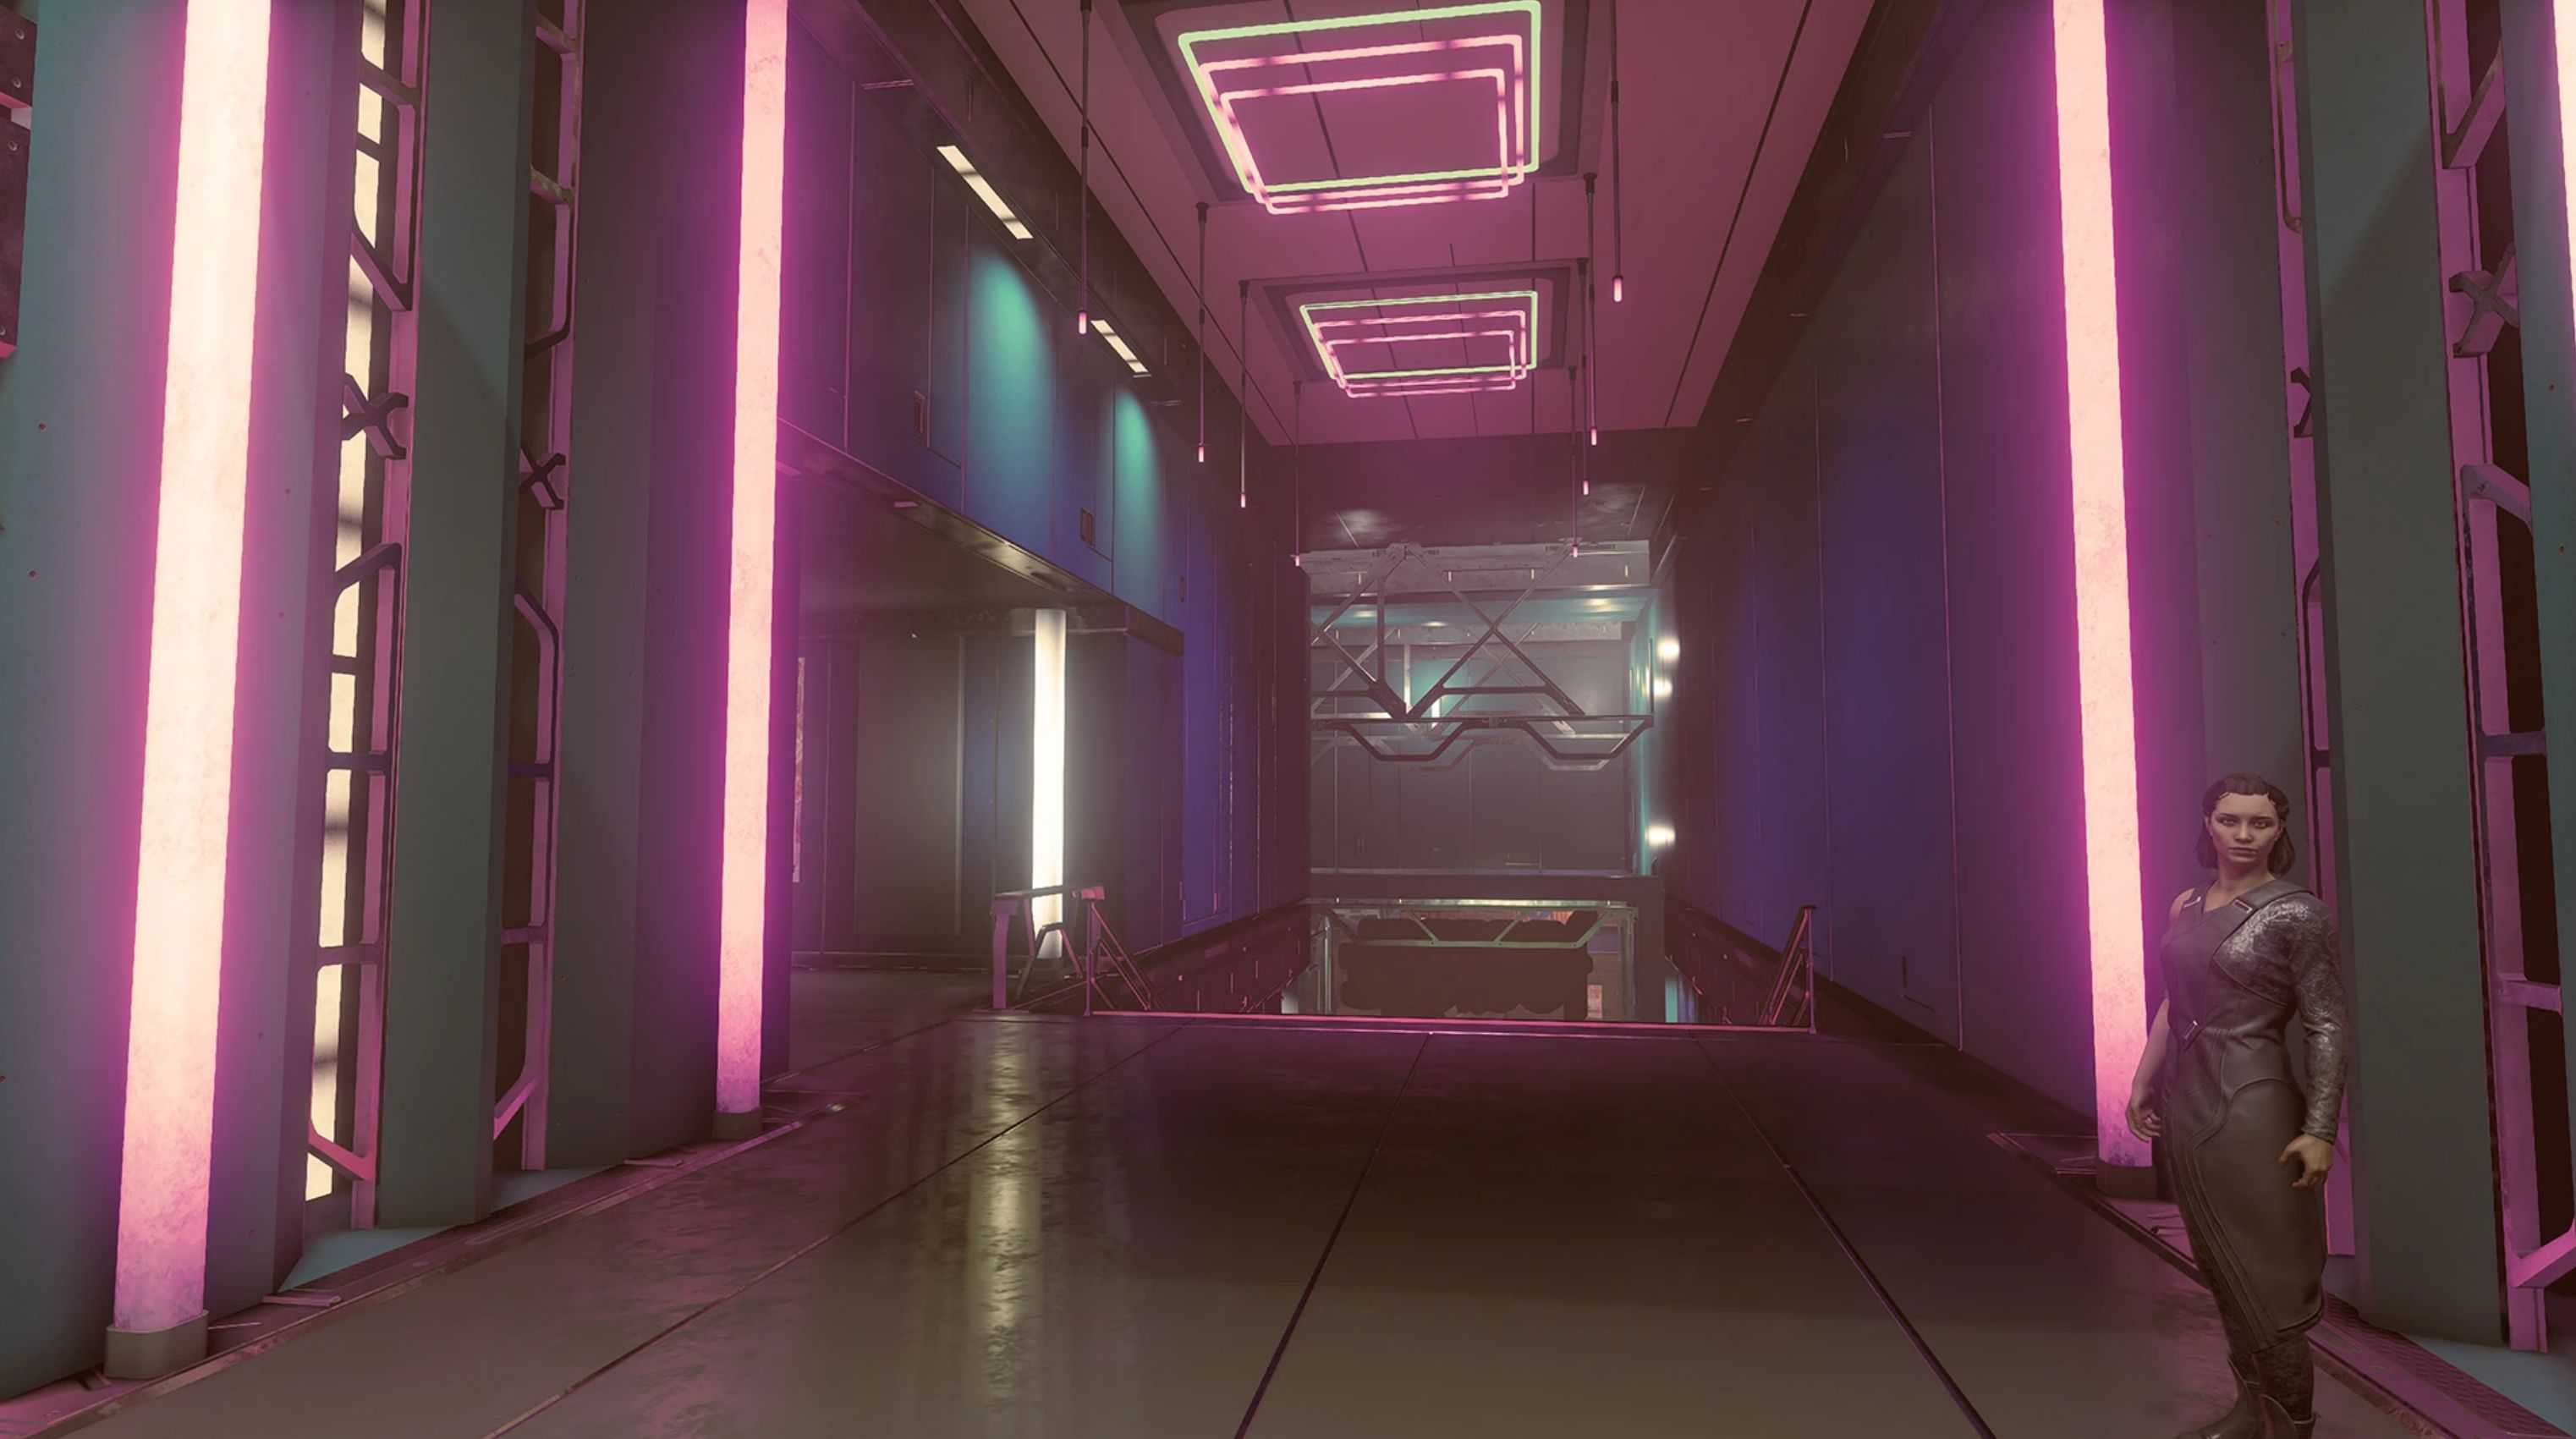
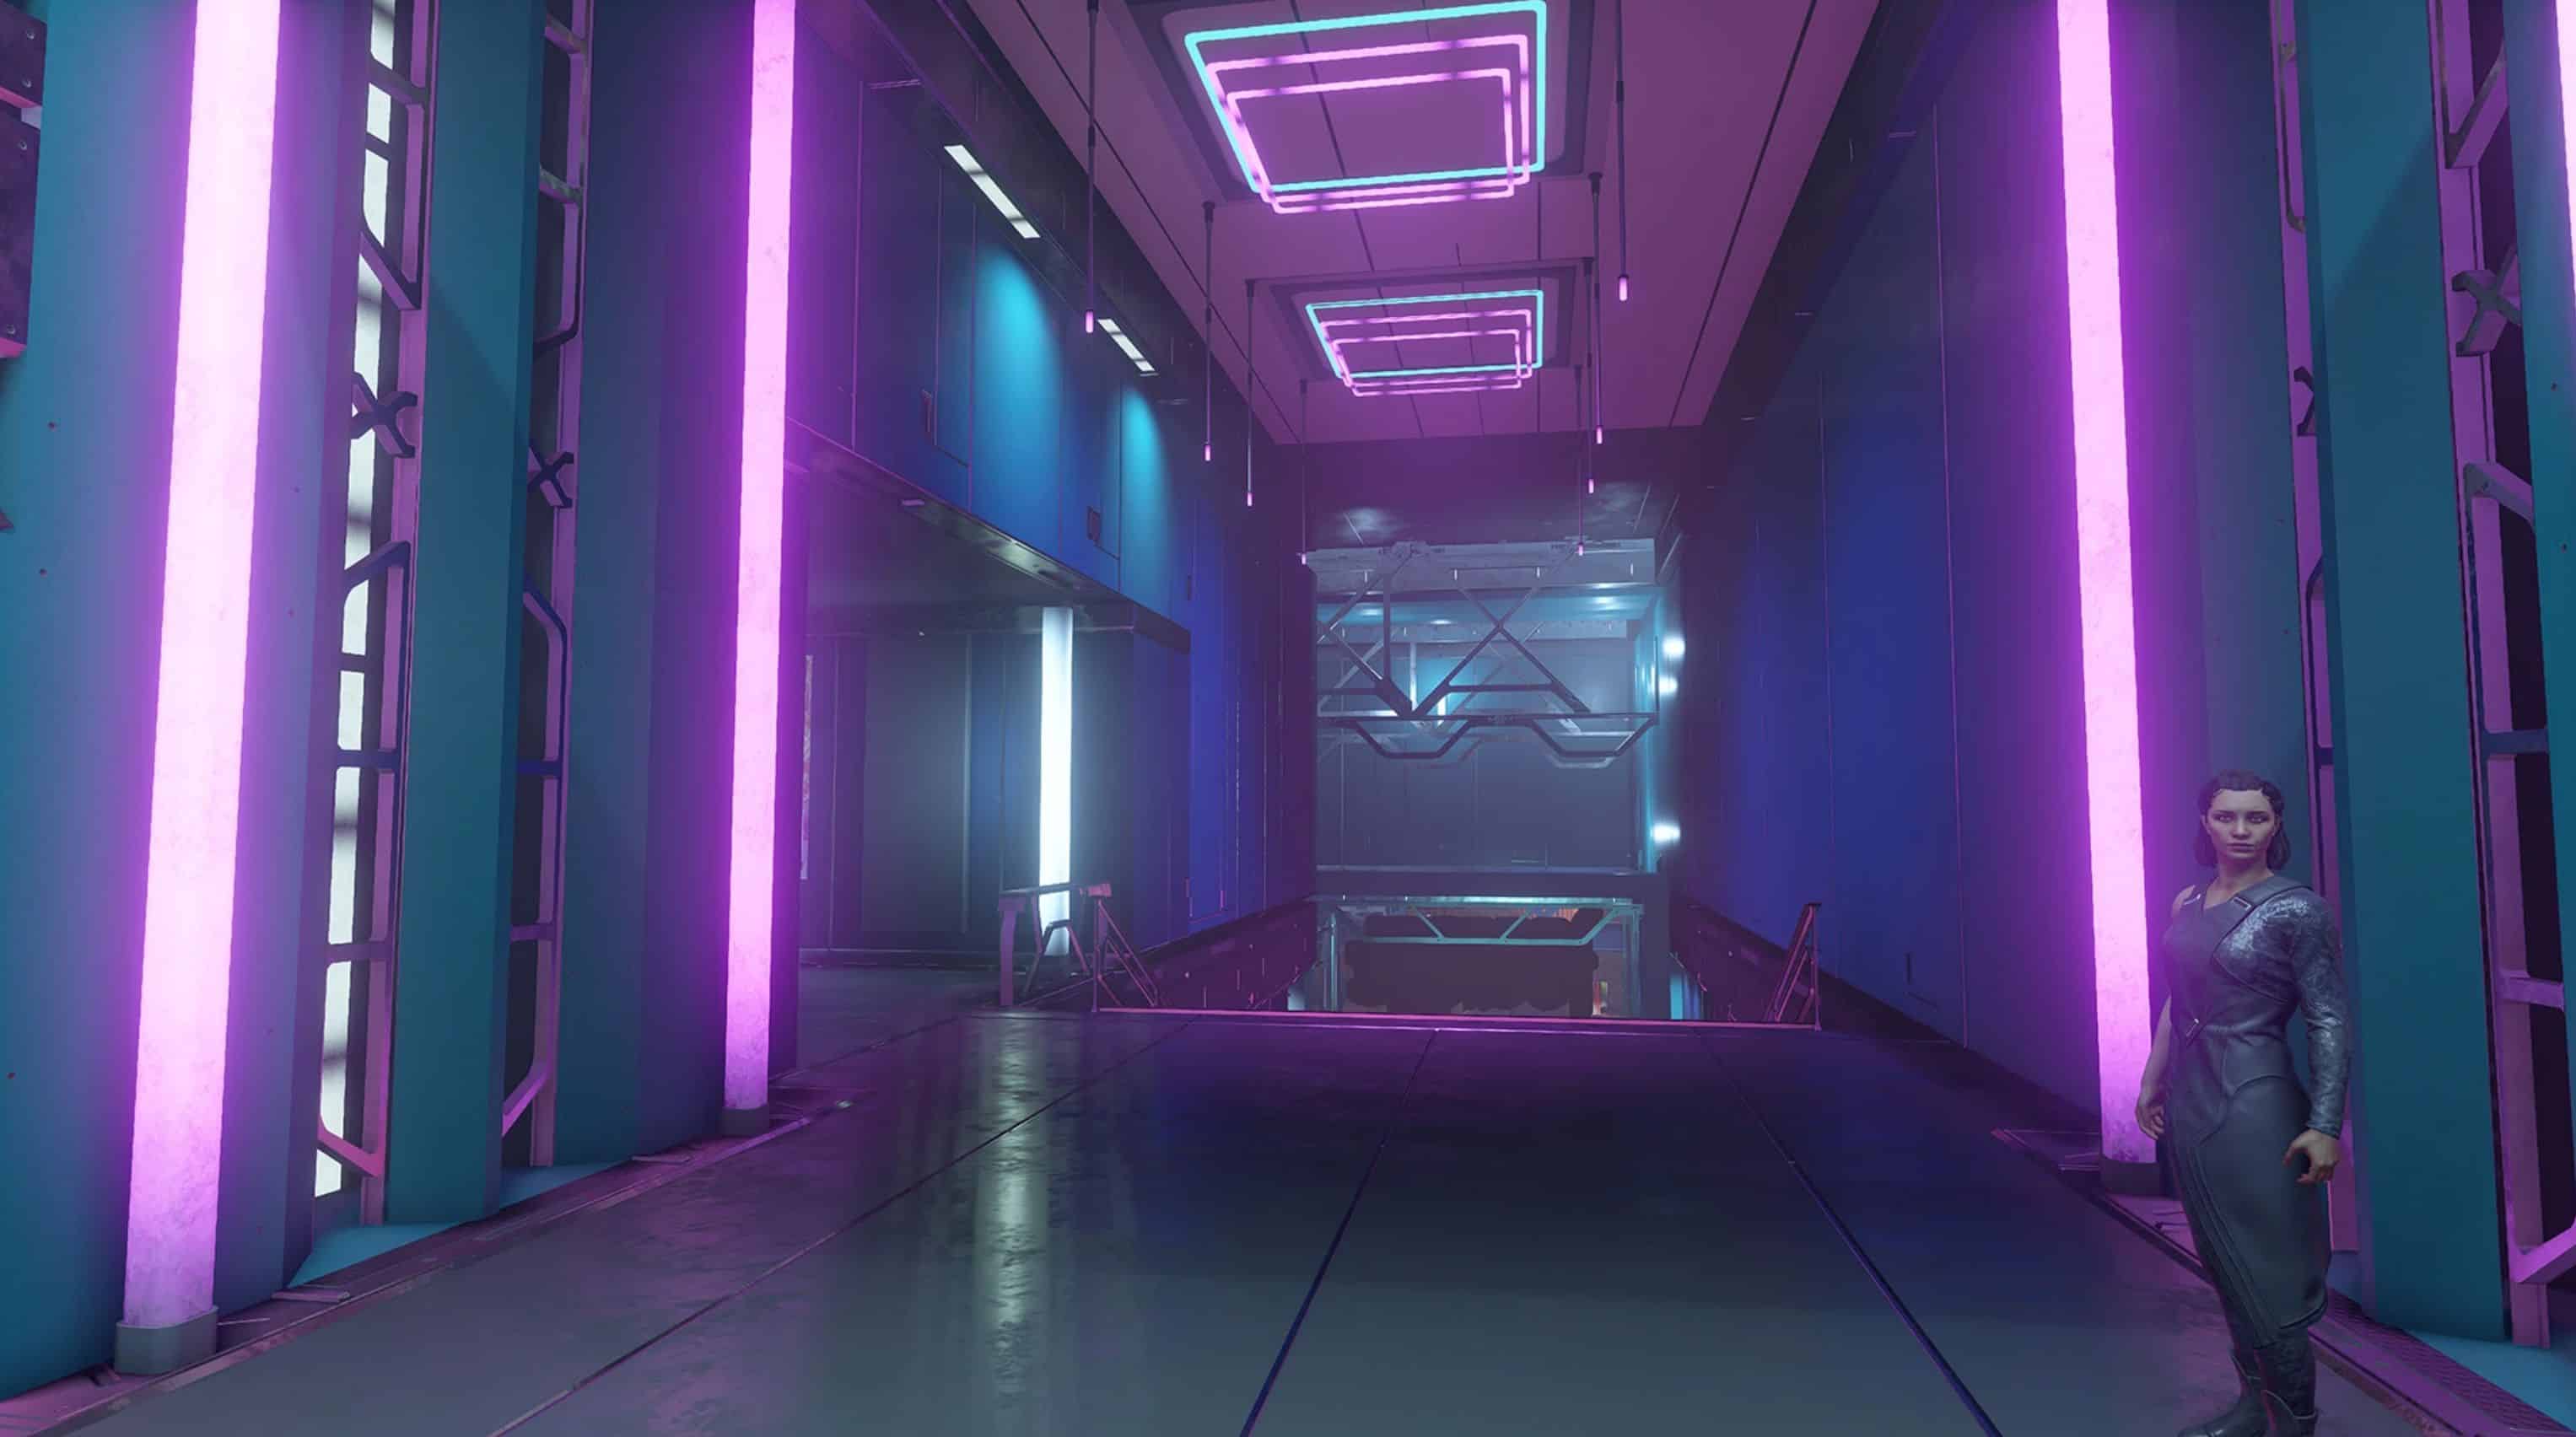
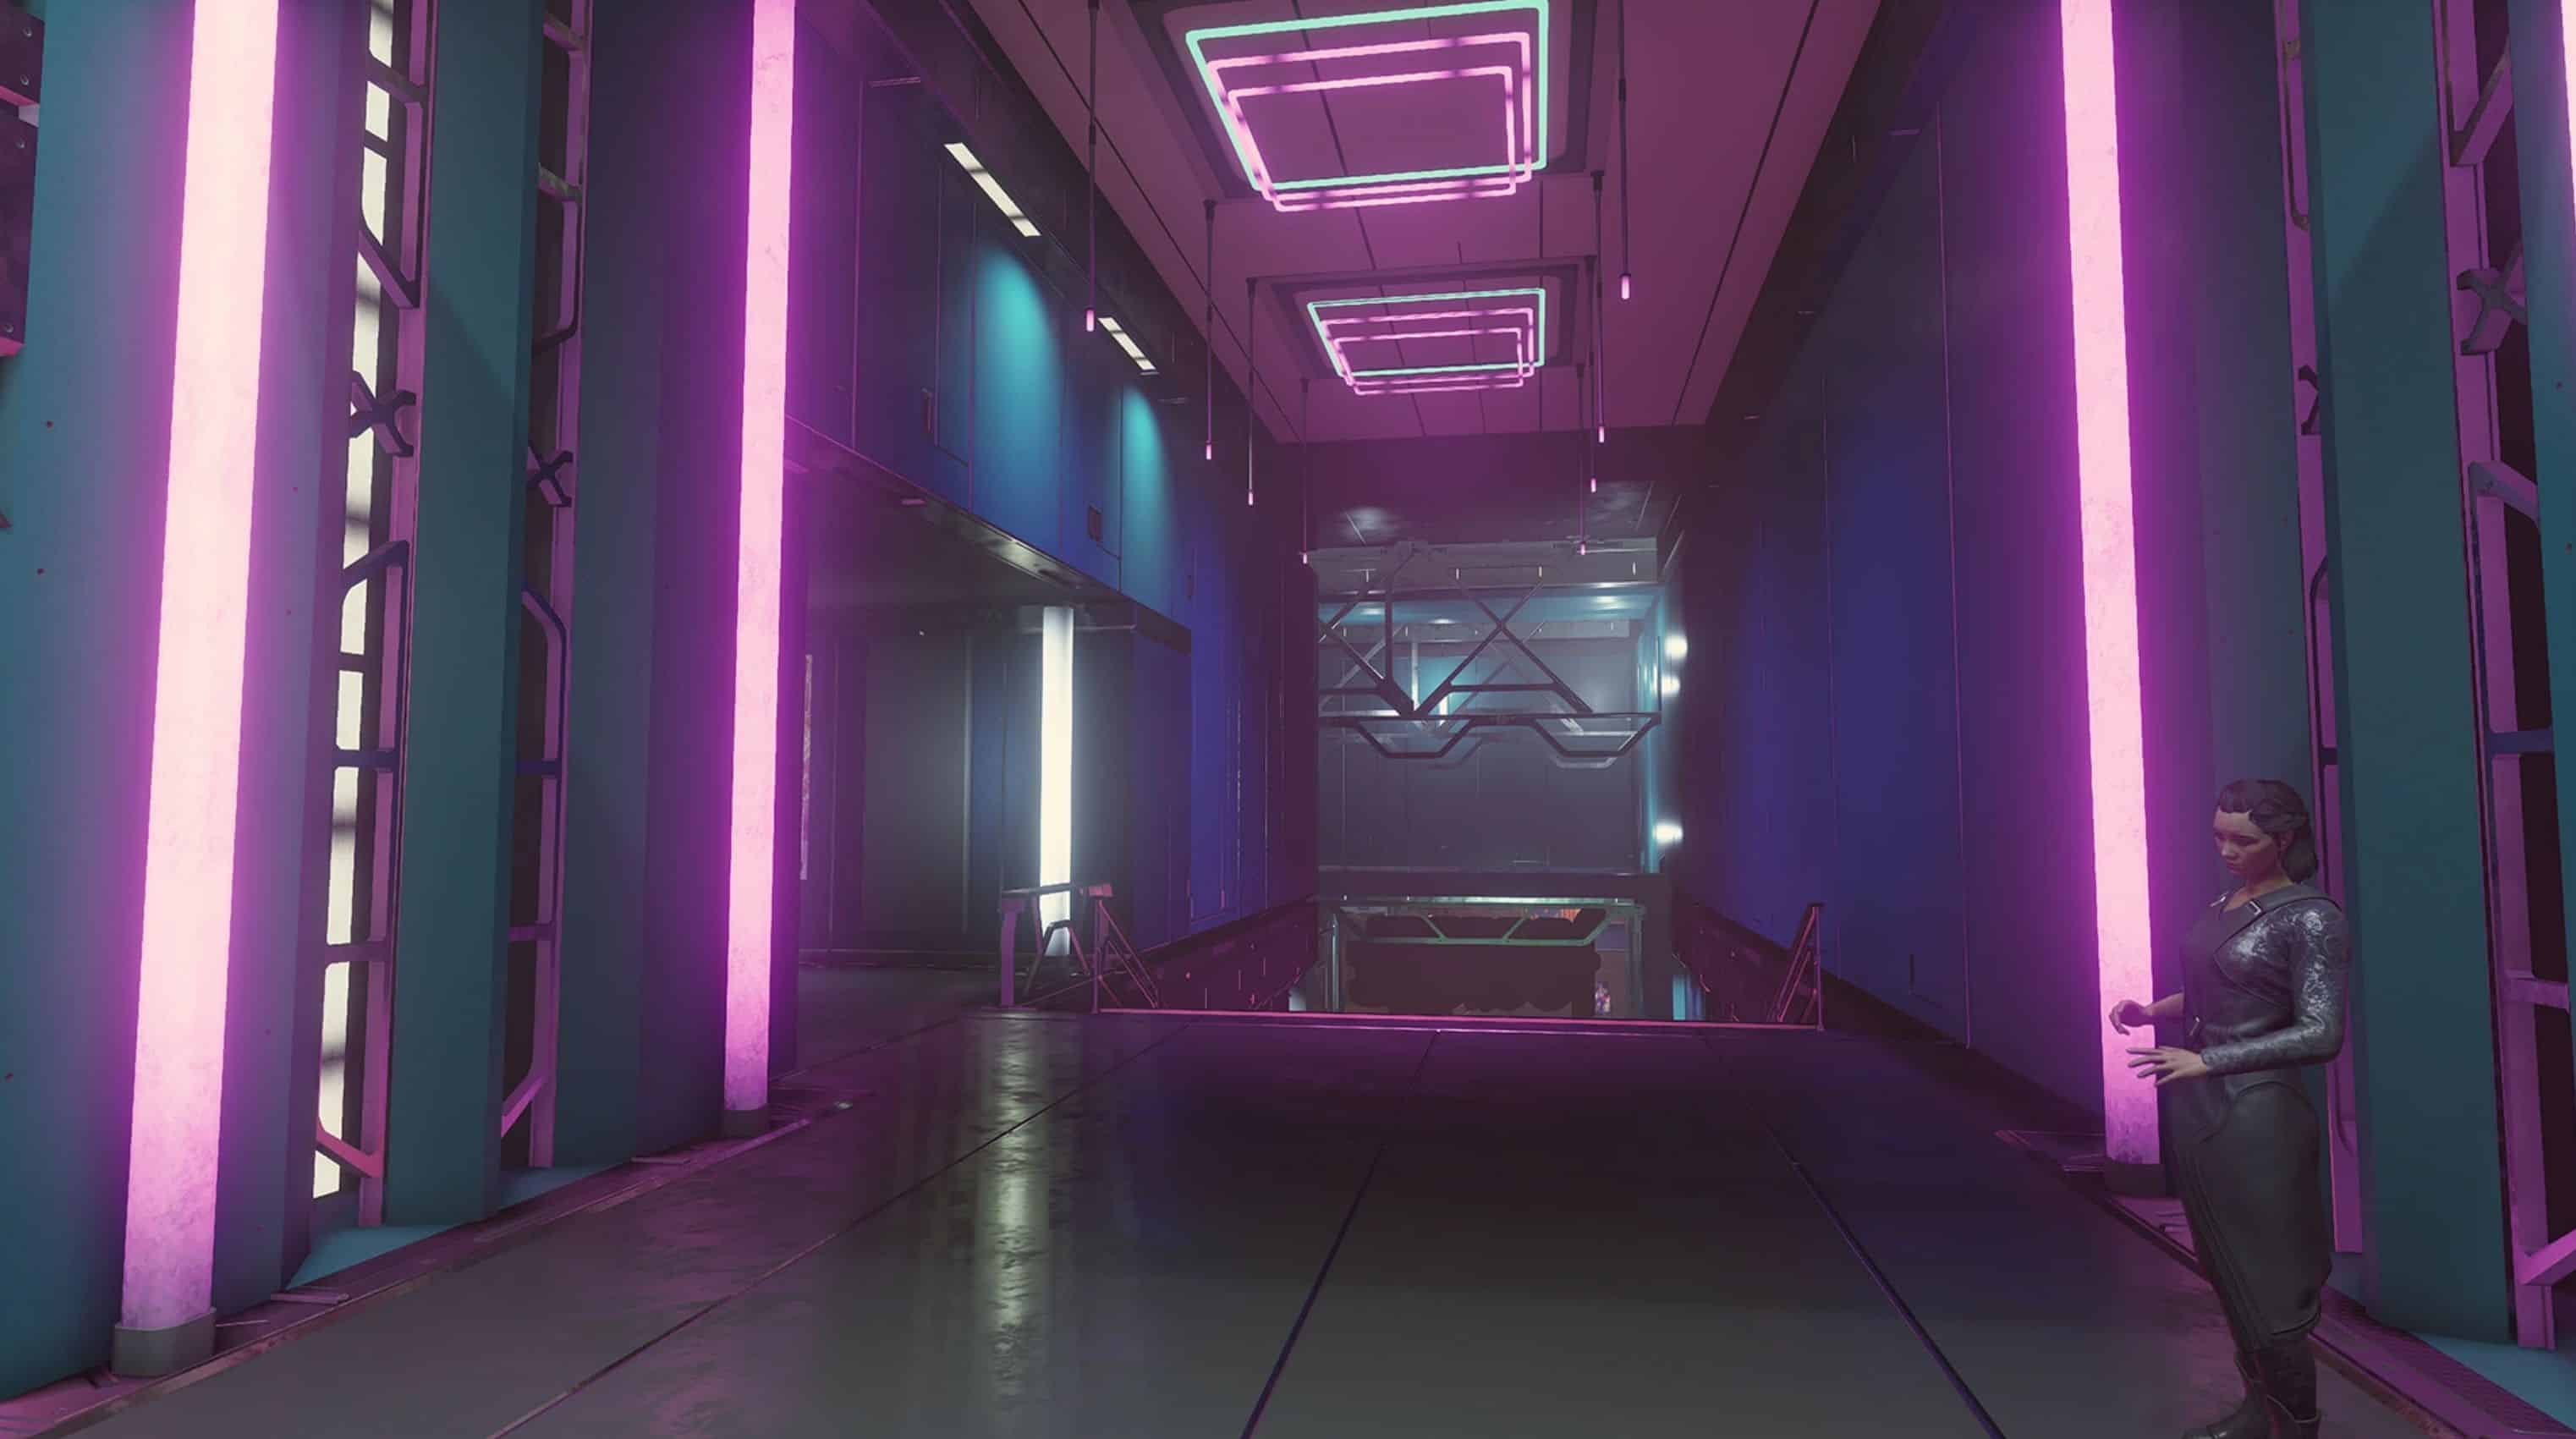
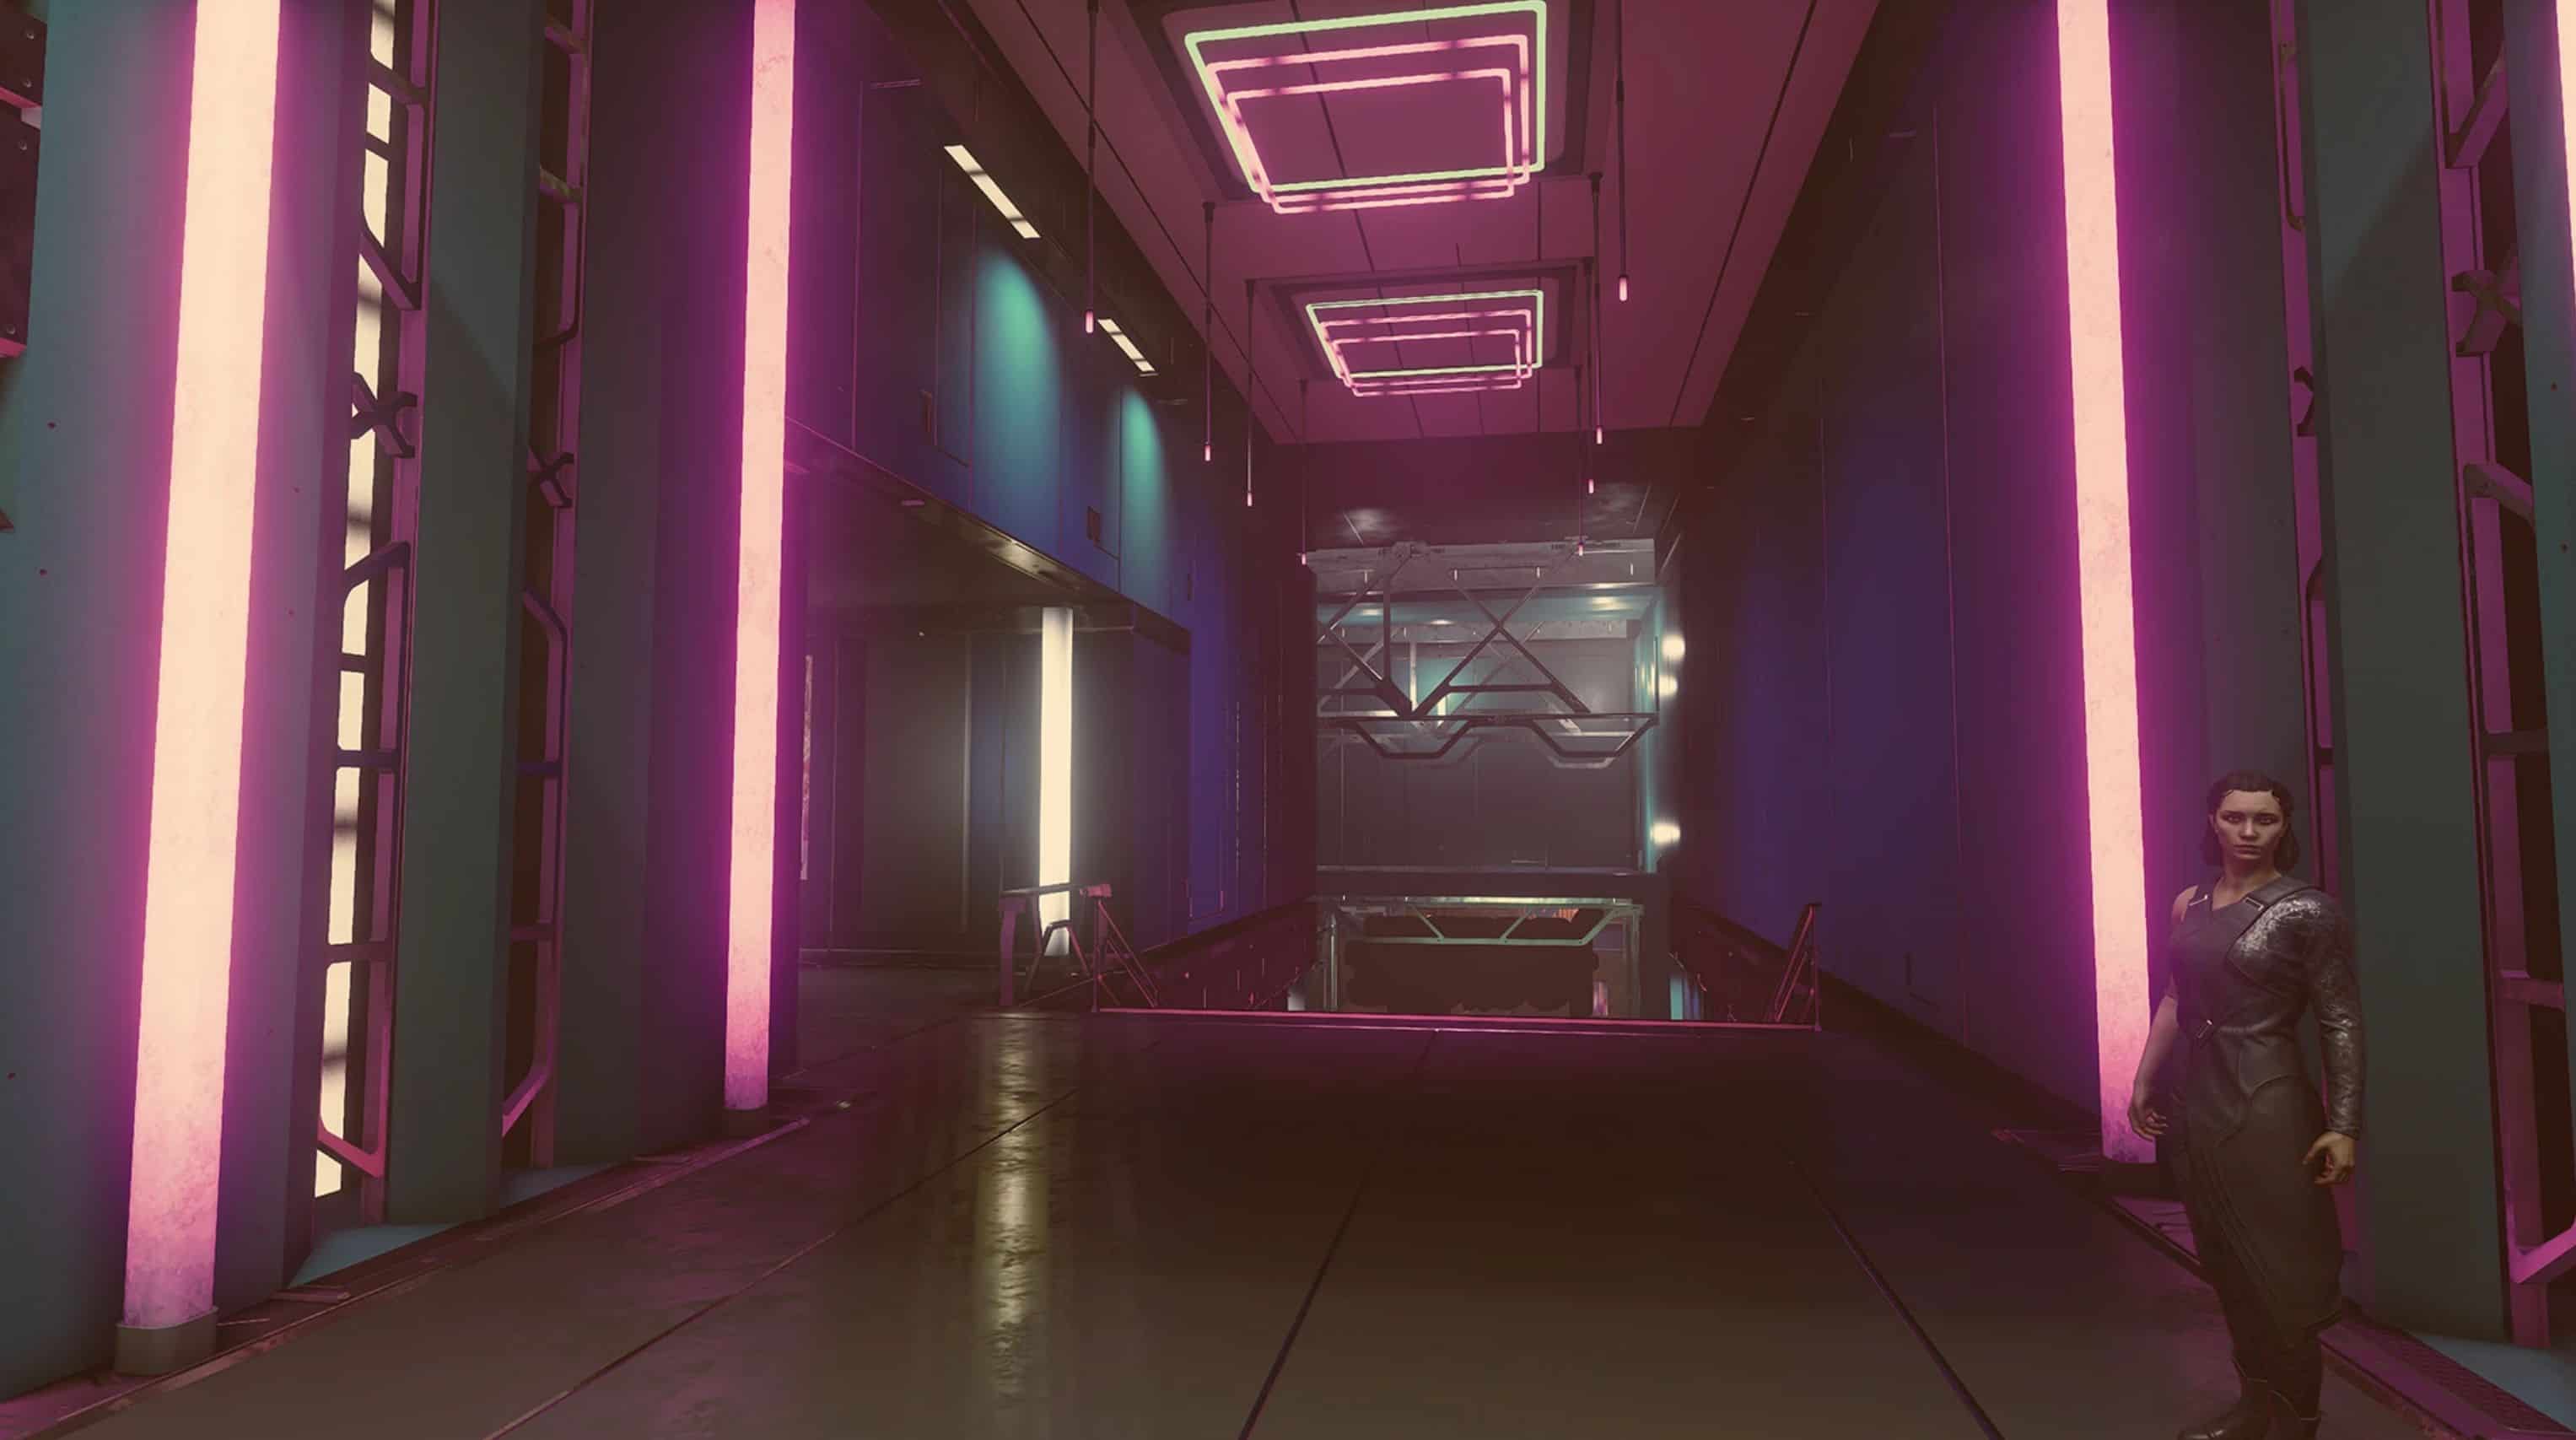
This mod fine-tunes the color grading in Starfield, offering enhanced contrast, deeper blacks, and more balanced colors while retaining the game’s original artistic vision. It accomplishes this by adjusting the Look-Up Tables (LUTs). Unlike the Neutral LUTs Mod , which fully removes the original color grading, this mod selectively scales the intensity of the original LUTs to achieve a more balanced visual experience.
Features
Multiple Variants: Choose from different mod flavors to suit your preference.
– 0% Strength: Utilizes a completely neutral LUT for each area. (Pictured)
– 25% Strength: Combines 25% of the original LUT with a neutral one. (Not Pictured, use you imagination)
– 50% Strength: Mixes 50% of the original LUT with a neutral one. (Recommended) (Pictured)
– 75% Strength: Incorporates 75% of the original LUT with a neutral one. (Not Pictured, use you imagination)
– Luma: Retains the original color while maintaining the Luma values of a neutral LUT. (Pictured)
Please Note
– This is not a ReShade preset; it directly modifies the game’s textures.
– I’ve employed a script to process the original LUTs, rather than manually crafting them for each environment. This is why multiple variants are available, allowing you the freedom to mix and match according to your preferences. Due to time constraints, I won’t be able to fine-tune all 254 LUTs individually. Nonetheless, this mod serves as a solid starting point.
– The mod doesn’t affect Photo Filters or UI LUTs.
– To revert to the original LUT in specific areas, simply delete the corresponding replacement file.
– Being texture files, they pose no risk to your game.
Installation Guide
Important: Unlike previous games, textures for Starfield are loaded from your Documents folder, not the \data\ folder.
1. Download: Choose one of the mod variants. The 50% Strength variant is recommended for a balanced experience.
2. Extract the Mod Files:
For the Steam version: unzip the Data folder into Documents\My Games\Starfield. Enter %userprofile%\Documents\My Games\Starfield
in the Windows Explorer address bar to easily reach it.
For the Game Pass version: unzip the Data folder into C:\Xbox Games\Starfield\Content.
3. Configure: Add the following lines to your StarfieldCustom.ini file file located in the appropriate directory based on your version. Create a new one in the same directory if it doesn’t exist:
[Archive]
bInvalidateOlderFiles=1
sResourceDataDirsFinal=
Uninstallation Guide
Delete the mod files located at: %userprofile%\Documents\My Games\Starfield\Data\textures\effects\luts