
FIRNIS – Image and Light Enhancing ReShade
Get rid of The Smudge™ – a sophisticated Reshade for any LUT, to create a more developed and crisper image, realistic flow of light with better contrast, more detailed shadows and enhanced depth perception – using a broader dynamic range. Professional post-procession originated from my color grading workflow.
FIRNIS 1.93 – IMAGE AND LIGHT ENHANCING
Varnish for your graphics.
Made with love, autism and too much free time. Aged like wine.
FIRNIS is a sophisticated, long-term ReShade Preset that functions as the last layer (“fear-niz” is german for that special varnish you use to finish paintings) to create a richer image with more details, crisper textures, better bloom/fog and a more realistic emission and flow of light.
It results in an overall cleaner, more detailed and more immersive look. I began making it for my heavy modded Skyrim and learned a lot further about color grading and image perception in the process.
It is meant to be a respectful ReShade, that is gentle to the image and the eye:
Not a harsh filter that just cranks up contrast and pushes a color over everything else or turns the picture just too dark for most gameplay.
Develop the image, make it shine, not altering the creators vision – give the graphics a finishing touch and obliterate some visual issues.
It is build in mind to work as a “one fits all”-solution, working in every situation, for any LUT, with every resolution on any graphical settings. I can’t test it above 1440p unfortunately – i would love to see some results.
WHAT IT DOES:
Post-Procession Trickery Magic
– a broader dyamic range (nearly as wide as the quality range of this game!)
– better contrast
– gets rid of The Smudge™
– better light emmision – fills the space and effects everything a little bit more. Less feel of lightspheres over
dark spaces with different light characteristics in one scene.
-> every object has the same light characteristics. no more the feeling of everything floating in a different realm.
– everything fills the same space, the room looks more three-dimensional, better perception of depth
– sunlight has more weight and colour, its function as a skylight is more visible (the same with moonlight), more dramatic sunsets
– better skin
– better structures and textures
– better materials
– more realistic and immersive metal reflections
– more details and visibility in low light situations and blacked out shadows, shows great in dark situations
– more subtile bloom and fog, a bit more defined distance objects
– particle effects are way more crisp and finer, feels more lightweight
– faked bounce light / spill light (a similar visual effect to raytracing)
– (menu’s) transparencies are a bit higher/crisper, feels more modern
– slightly sharper
– better readability of ui elements
– overall a less cloudy, muddy feel
– eyefriendlier. I get less migraine while playing, i guess because my eyes don’t try to adapt to that fake foggy bloomy
light situation with too dark shadows and no spill.
– overall a more developed look
– more immersive
– it’s like getting glasses
INSTALLATION
don’t worry – it might be much text, but it is super easy:
1.1) Install the latest ReShade with the Installer from https://reshade.me/ by selecting your main .exe in your installation folder.
Select Direct X10/11/12, click ‘next’, when asking for a preset click ‘next’, and then it will ask which effect packages to install.
1.2) Click “Uncheck all”, and again “check all”. You want to install all the shader packages.
Click “next”. It will download all the effects and tell you when all is installed.
2) Drop the .ini-file you found in my download into your SSE folder.
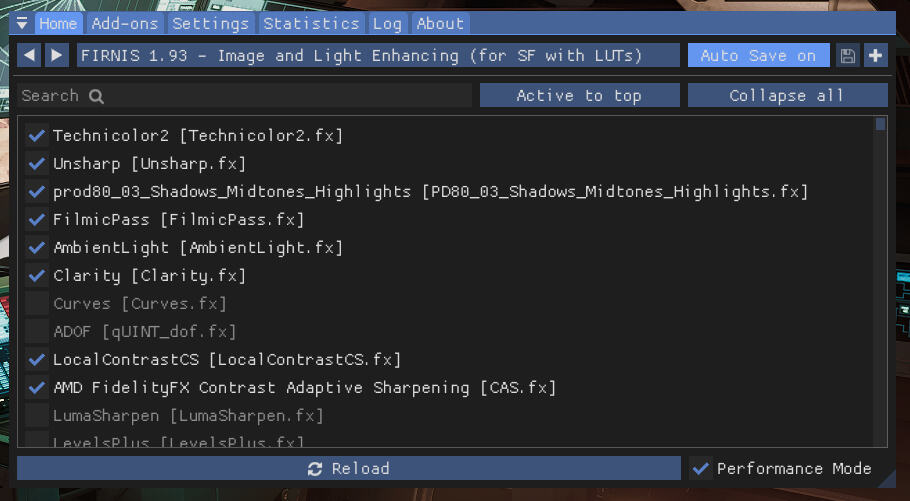
3) Open Reshade’s menu overlay ingame with [Pos1], read the quick tutorial if you are new and then select “FIRNIS 1.93 – Image and Light Enhancing”. Make sure to be in performance mode.
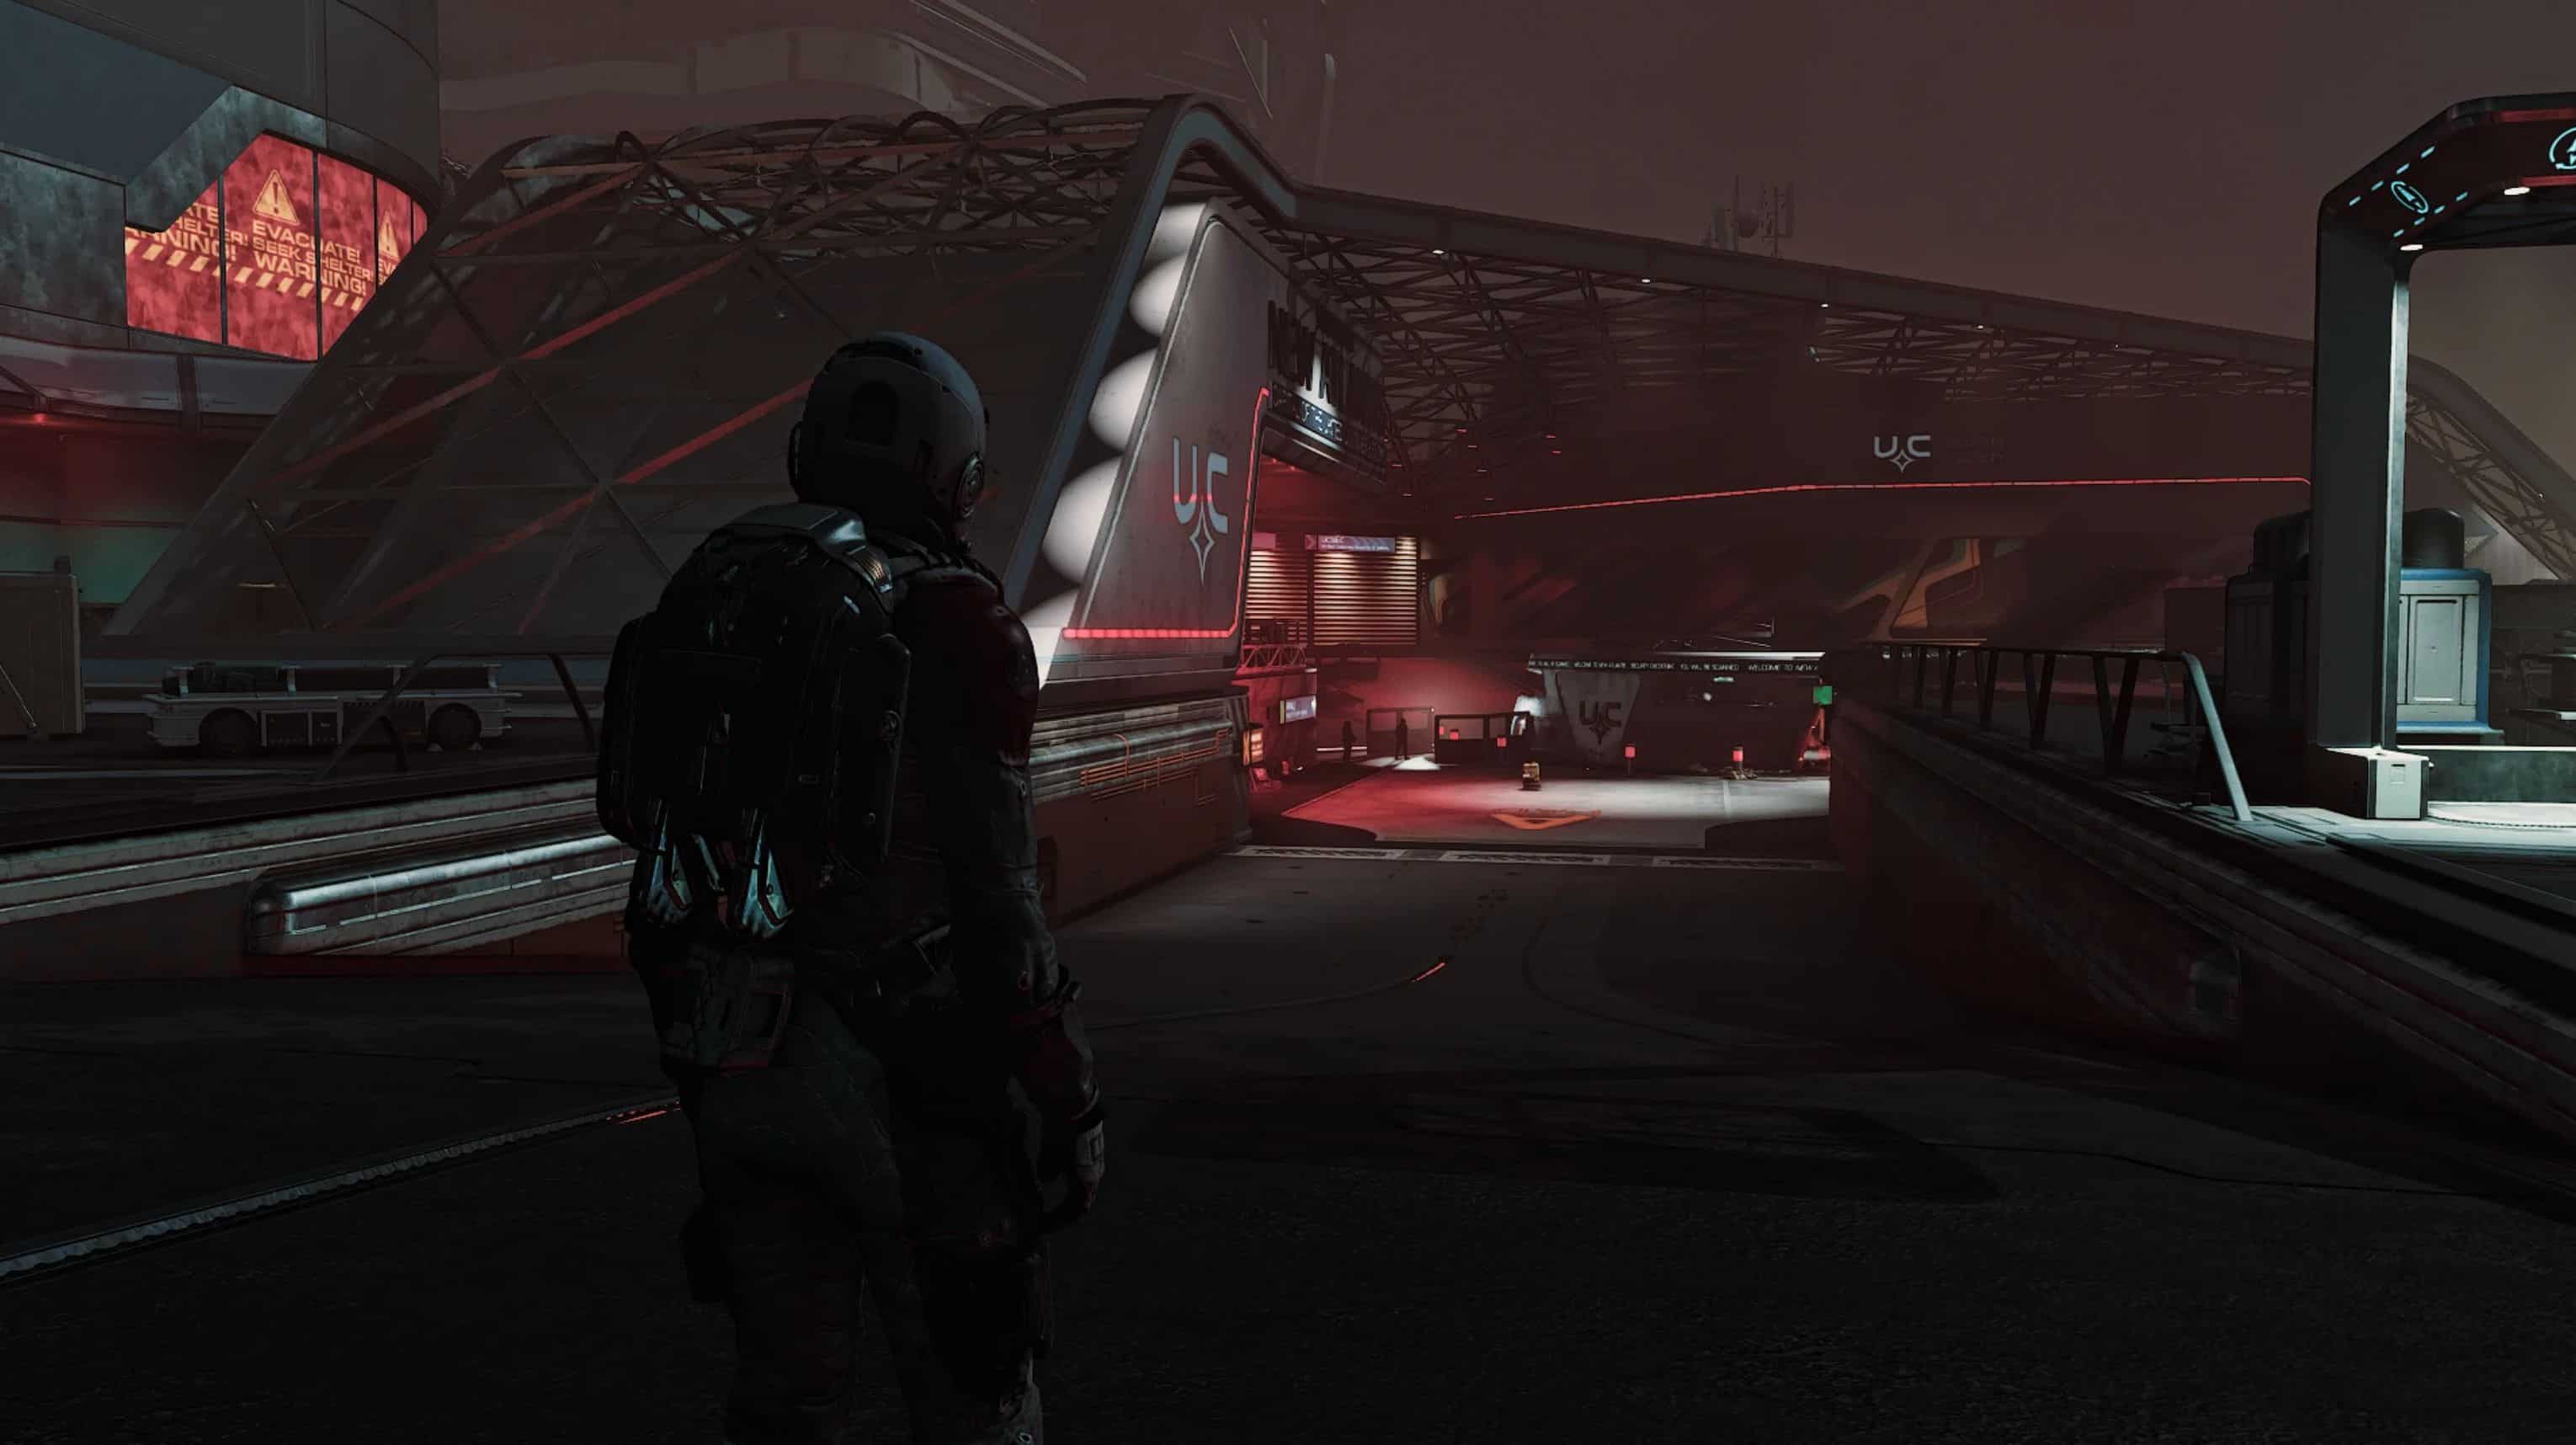
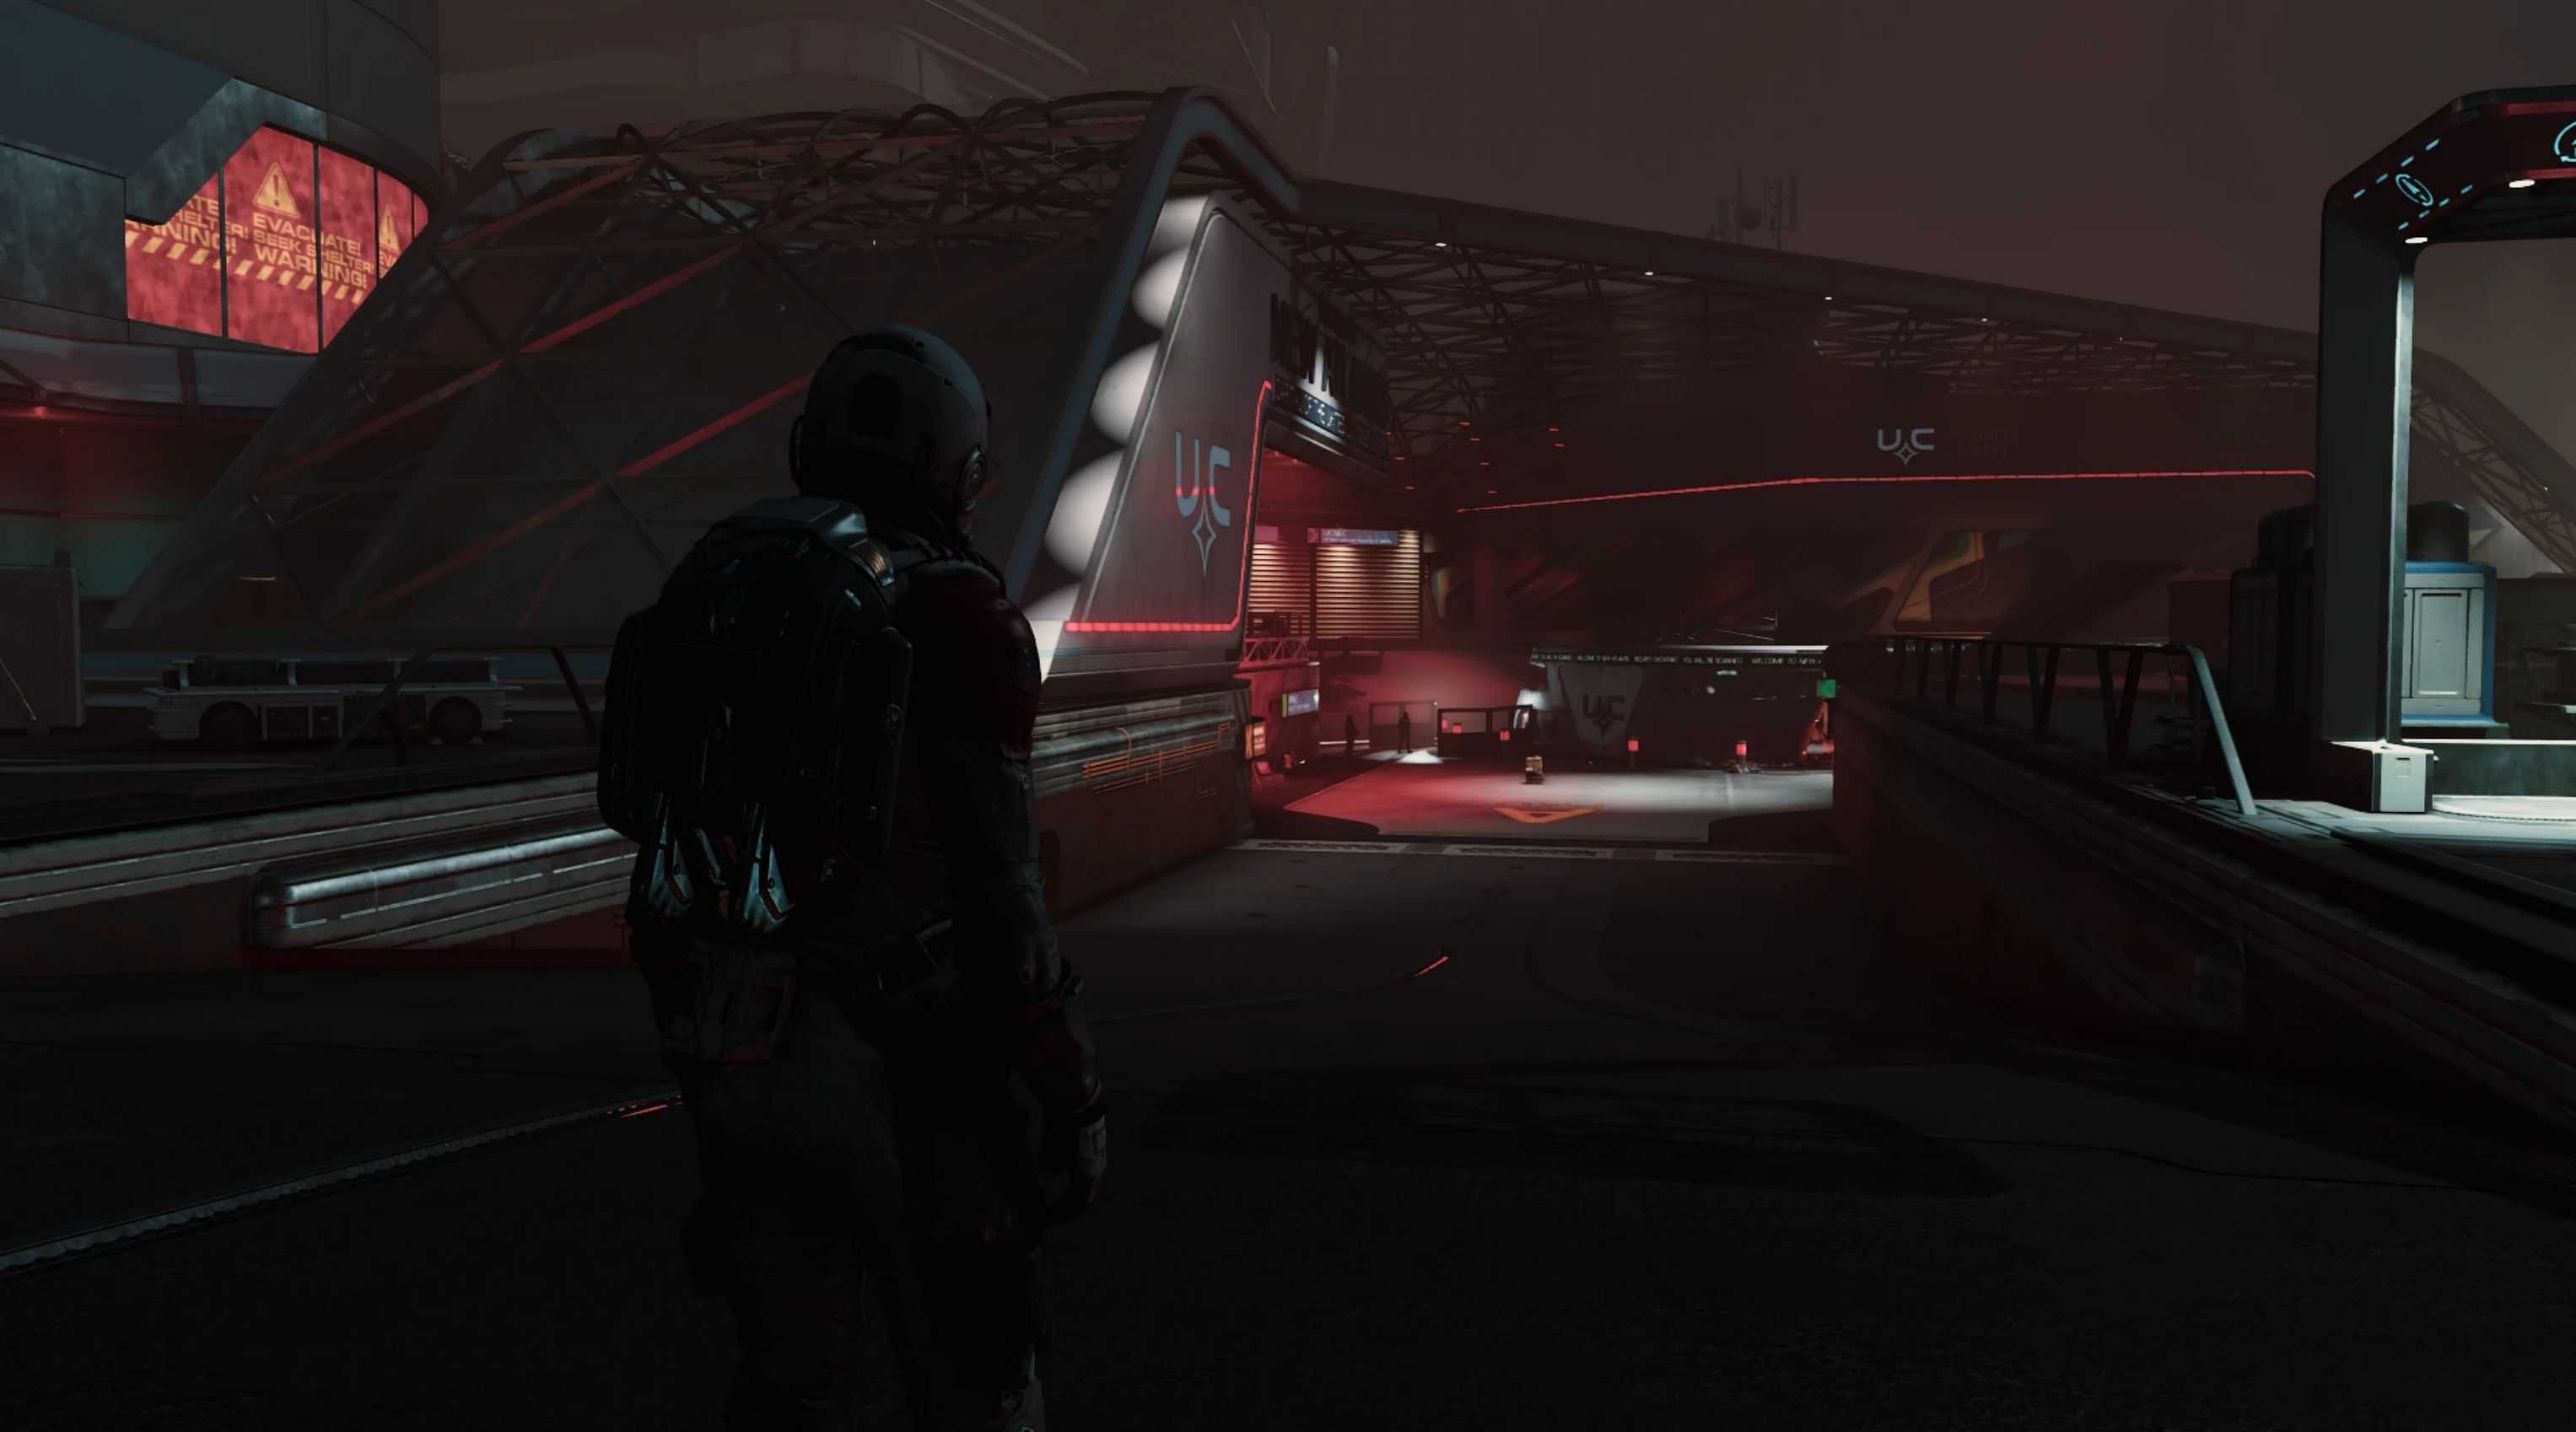
It should look like this:
Go into ReShade’s Settings Tab and asign an “Effect Toggle” key to quick turn my ReShade on and off to see the difference the reshade makes.
I usually use [Num del], as it comes handy near the mouse.
Assign a screenshot hotkey and a screenshot folder. I use [ScrollLock] and usually create a “screenshot”-folder in the main folder.
You can switch the file format from png to jpg. I recommend doing that, because png-files are pretty huge, especially in higher resolutions.
When using jpg, make sure to put quality on 100% if you can spare that Kilobytes.
You have to use reshades screenshot function – using the internal screenshot function won’t show the enhanced image!